例程讲解20-Frame-Differencing->in_memory_shadow_removal 阴影去除帧差分
import sensor, image, pyb, os, time
TRIGGER_THRESHOLD = 5
sensor.reset()
sensor.set_pixformat(sensor.RGB565)
sensor.set_framesize(sensor.QQVGA)
if sensor.get_id() == sensor.OV7725:
sensor.__write_reg(0x0D, (sensor.__read_reg(0x0D) & 0x3F) | 0x40)
sensor.skip_frames(time = 2000)
sensor.set_auto_whitebal(False)
sensor.set_auto_gain(False)
clock = time.clock()
extra_fb = sensor.alloc_extra_fb(sensor.width(), sensor.height(), sensor.RGB565)
print("About to save background image...")
sensor.skip_frames(time = 2000)
extra_fb.replace(sensor.snapshot())
print("Saved background image - Now frame differencing!")
while(True):
clock.tick()
img = sensor.snapshot()
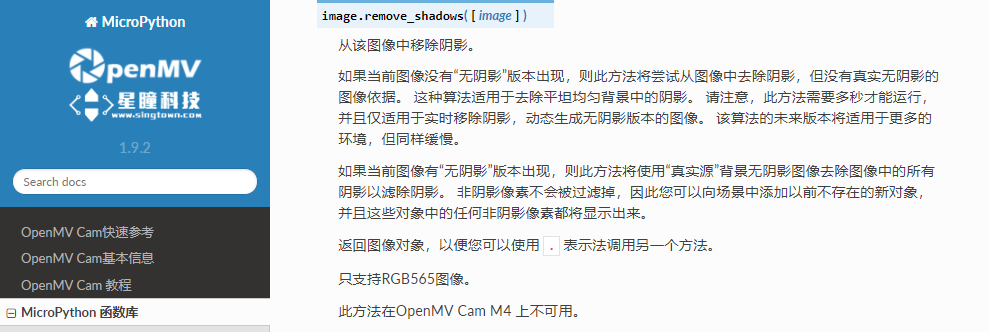
img.remove_shadows(extra_fb).difference(extra_fb)
hist = img.get_histogram()
diff = hist.get_percentile(0.99).l_value() - hist.get_percentile(0.90).l_value()
triggered = diff > TRIGGER_THRESHOLD
print(clock.fps(), triggered)
星瞳科技OpenMV官方中文文档函数讲解:

星瞳科技OpenMV官方中文文档函数讲解:

星瞳科技OpenMV官方中文文档函数讲解:


