例程讲解-04-erode_and_dilate腐蚀膨胀
本例程为04-image-Filters-erode_and_dilate.py
此例程的目的是为了让大家更清晰的理解腐蚀和膨胀函数的效果。
# 腐蚀和膨胀的例子
#
# 这个例子展示了可以在二进制图像上运行的腐蚀和膨胀函数来消除噪声。
# 这个例子最初是一个测试,但是它对于展示这些函数是如何工作的很有用。
import sensor, image
sensor.reset()
sensor.set_framesize(sensor.QVGA)
#设置阈值
grayscale_thres = (170, 255)
rgb565_thres = (70, 100, -128, 127, -128, 127)
while(True):
sensor.set_pixformat(sensor.GRAYSCALE)
for i in range(20):
img = sensor.snapshot()
#先对图像进行分割,二值化,将在阈值内的区域变为白色,阈值外区域变为黑色
img.binary([grayscale_thres])
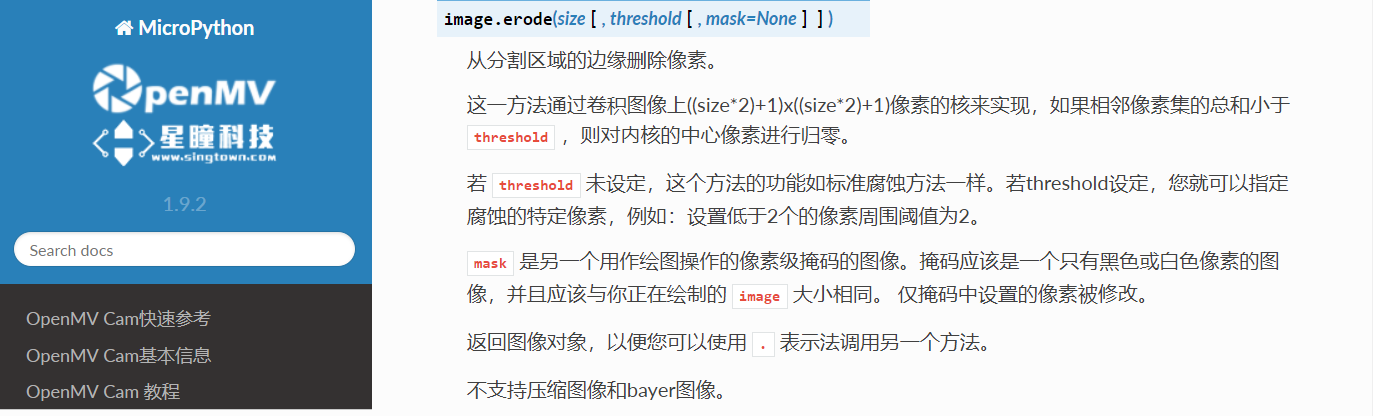
#对图像边缘进行侵蚀,侵蚀函数erode(size, threshold=Auto),size为
#kernal的大小,去除边缘相邻处多余的点。threshold用来设置去除相邻点的个数,
#threshold数值越大,被侵蚀掉的边缘点越多,边缘旁边白色杂点少;数值越小,
#被侵蚀掉的边缘点越少,边缘旁边的白色杂点越多。
img.erode(2)
for i in range(20):
img = sensor.snapshot()
img.binary([grayscale_thres])
img.dilate(2)
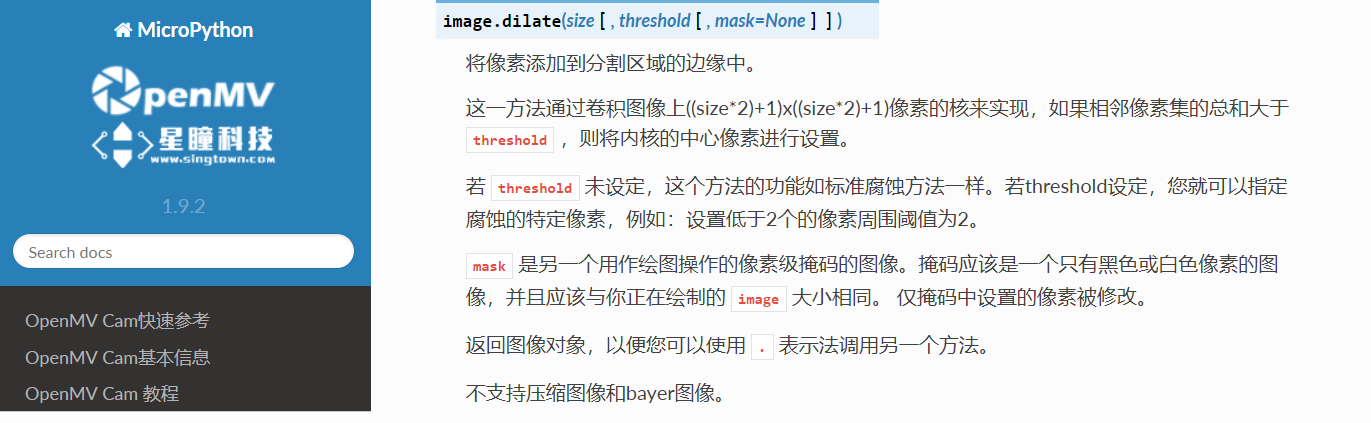
#对图像边缘进行膨胀,膨胀函数image.dilate(size, threshold=Auto),size为
#kernal的大小,使边缘膨胀。threshold用来设置去除相邻点的个数,threshold数值
#越大,边缘越膨胀;
#数值越小,边缘膨胀的小。
sensor.set_pixformat(sensor.RGB565)
for i in range(20):
img = sensor.snapshot()
img.binary([rgb565_thres])
img.erode(2)
for i in range(20):
img = sensor.snapshot()
img.binary([rgb565_thres])
img.dilate(2)
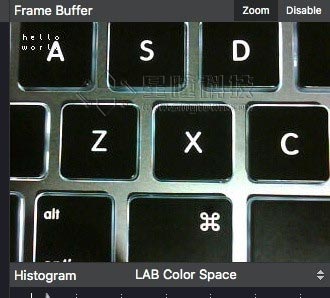
原图:
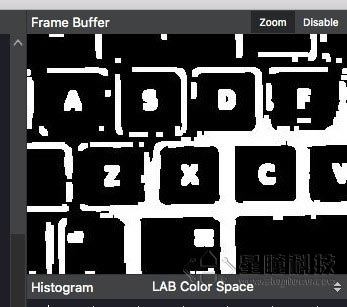
边缘检测后原图:
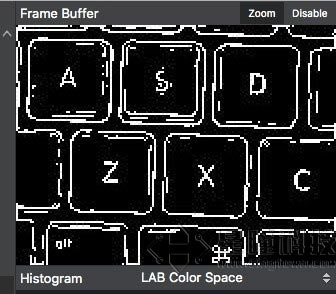
erode函数腐蚀后,可以看出图像的边缘不再明显,被黑色覆盖:
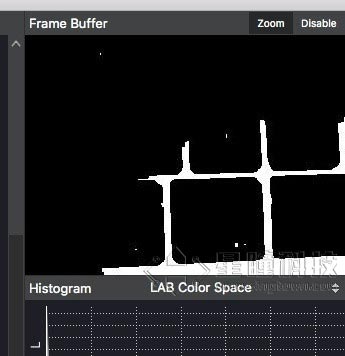
dilate函数膨胀后,边缘变粗: