模版匹配NCC
视频教程8 - NCC模板匹配:https://singtown.com/learn/49598/
NCC算法:
# Template Matching Example - Normalized Cross Correlation (NCC)
#
# This example shows off how to use the NCC feature of your OpenMV Cam to match
# image patches to parts of an image... expect for extremely controlled enviorments
# NCC is not all to useful.
#
# WARNING: NCC supports needs to be reworked! As of right now this feature needs
# a lot of work to be made into somethin useful. This script will reamin to show
# that the functionality exists, but, in its current state is inadequate.

import csi
import time, csi, image
csi0 = csi.CSI()

from image import SEARCH_EX, SEARCH_DS
#从imgae模块引入SEARCH_EX和SEARCH_DS。使用from import仅仅引入SEARCH_EX,
#SEARCH_DS两个需要的部分,而不把image模块全部引入。

# Reset sensor
csi0.reset()

# Set sensor settings
csi0.contrast(1)
csi0.gainceiling(16)
# Max resolution for template matching with SEARCH_EX is QQVGA
csi0.framesize(csi.QQVGA)
# You can set windowing to reduce the search image.
#csi0.window(((640-80)//2, (480-60)//2, 80, 60))
csi0.pixformat(csi.GRAYSCALE)

# Load template.
# Template should be a small (eg. 32x32 pixels) grayscale image.
template = image.Image("template.pgm")
#加载模板图片

clock = time.clock()

# Run template matching
while (True):
    clock.tick()
    img = csi0.snapshot()

    # find_template(template, threshold, [roi, step, search])
    # ROI: The region of interest tuple (x, y, w, h).
    # Step: The loop step used (y+=step, x+=step) use a bigger step to make it faster.
    # Search is either image.SEARCH_EX for exhaustive search or image.SEARCH_DS for diamond search
    #
    # Note1: ROI has to be smaller than the image and bigger than the template.
    # Note2: In diamond search, step and ROI are both ignored.
    r = img.find_template(template, 0.70, step=4, search=SEARCH_EX) #, roi=(10, 0, 60, 60))
    #find_template(template, threshold, [roi, step, search]),threshold中
    #的0.7是相似度阈值,roi是进行匹配的区域(左上顶点为(10,0),长80宽60的矩形),
    #注意roi的大小要比模板图片大,比frambuffer小。
    #把匹配到的图像标记出来
    if r:
        img.draw_rectangle(r)

    print(clock.fps())
注意,由于我们的模板图片大小要超过openmv内置的flash,所以我们需要插上sd卡后进行下列步骤。(注意先插sd卡再上电哦) 而且此模板匹配只能用于1.6及以上版本的固件哦,否则运行时会提示 “can not find SEARCH_EX”哦
首先,我们需要创建或导入一个模板,注意这个模板必须得是pgm格式的,而且大小有限制,不能超过openmv的像素大小。 我们可以直接从openmv里面截取一个模板图像,可以先运行helloworld.py例程,让frambuffer显示出图像,然后进行截取。
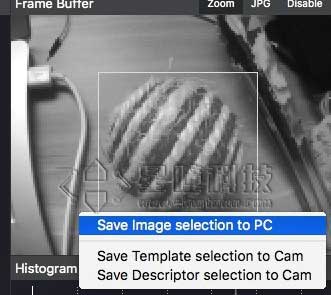
选择 save image selection to pc,注意从openmv里面直接截取保存的图片是bmp格式的,我们需要把它转换成pgm格式。可以在这个网站进行在线转换https://convertio.co/zh/bmp-pgm/
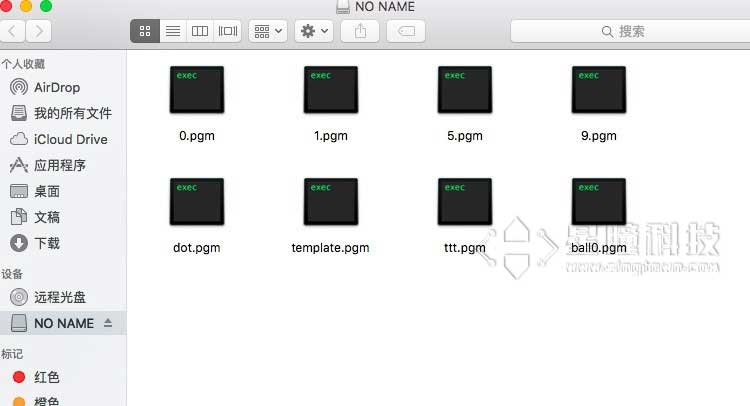
然后,我们将转换完的pgm模板保存到sd卡中(这个sd卡中一共有8个模板,上图的模板存为了ball0.pgm)
然后我们打开模板匹配的例程
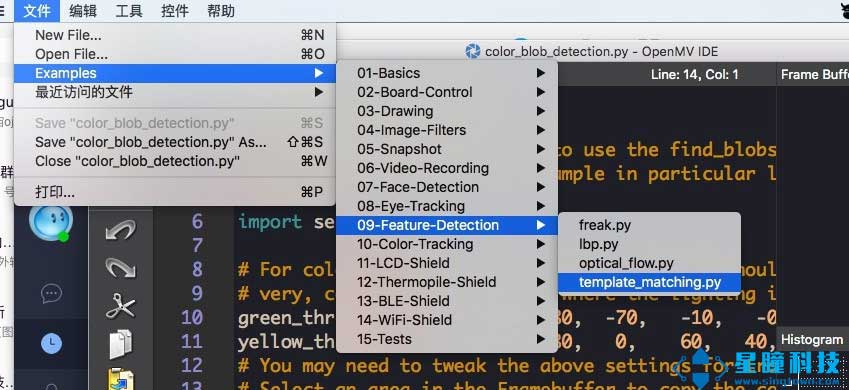
把第28行的模板文件名template.pgm改成刚刚的ball0.pgm

然后直接运行就可以啦!
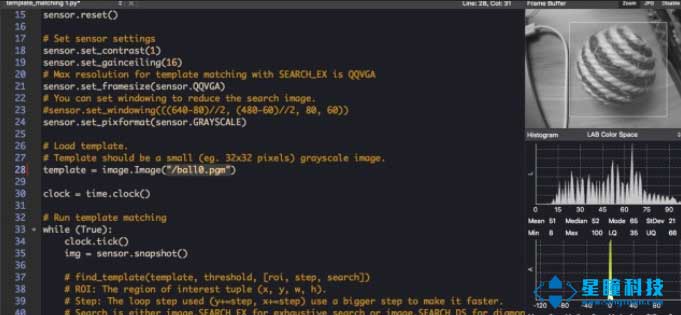
这个是模板匹配函数find_template的用法:
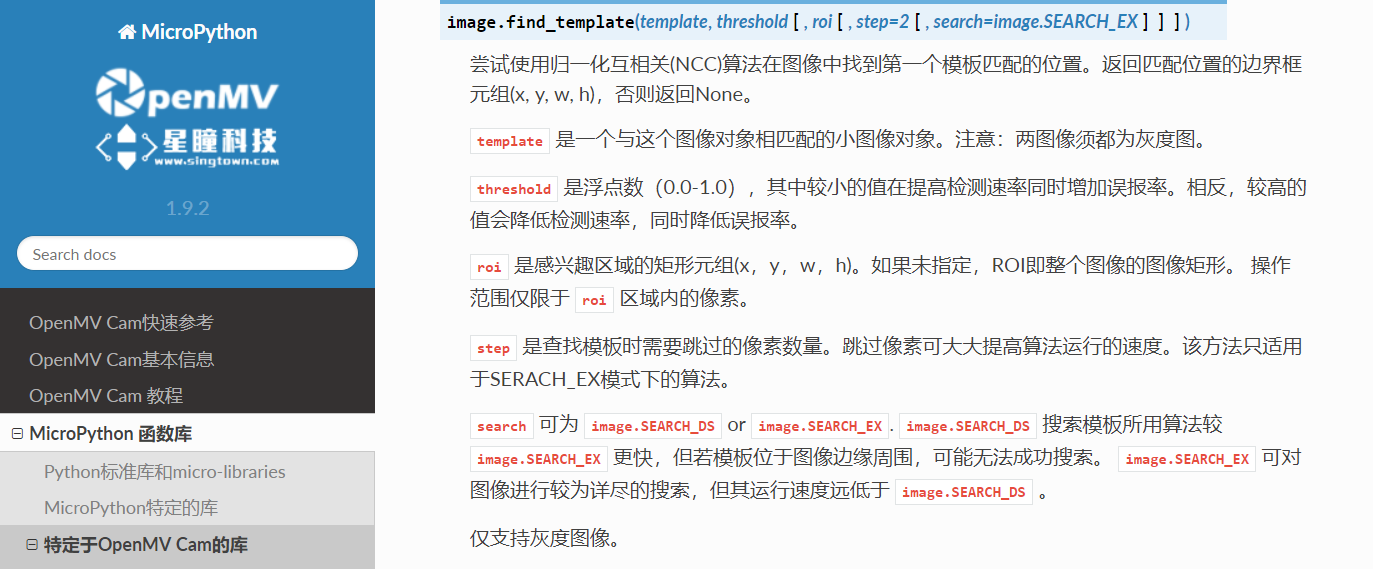
r = img.find_template(template, 0,7, roi=(10,0,80,60), step=4, search=SEARCH_EX) threshold中的0.7是相似度阈值,roi是进行匹配的区域(左上顶点为(10,0),长80宽60的矩形),注意roi的大小要比模板图片大,比frambuffer小。
注意这个模板匹配用的是ncc算法,只能匹配出与模板大小相似的区域哦,如果要匹配不同大小的图片,需要保存多个不同大小的模板哦。
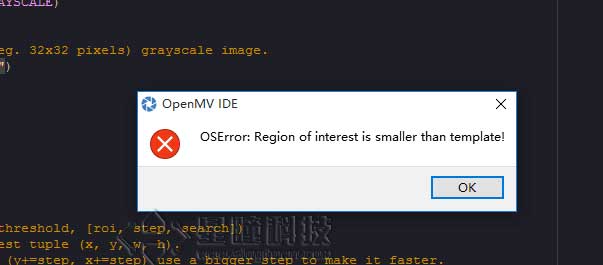
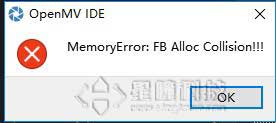
如果运行程序后出现以下问题:
1.模版图片太大,建议模版图片小于80*60
2.OpenMV2内存不够,要把QQVGA改成QQCIF
模板匹配和特征点检测的比较:
模板匹配(find_temolate)采用的是ncc算法,只能匹配与模板图片大小和角度基本一致的图案。局限性相对来说比较大,视野中的目标图案稍微比模板图片大一些或者小一些就可能匹配不成功。
模板匹配适应于摄像头与目标物体之间距离确定,不需要动态移动的情况。比如适应于流水线上特定物体的检测,而不适应于小车追踪一个运动的排球(因为运动的排球与摄像头的距离是动态的,摄像头看到的排球大小会变化,不会与模板图片完全一样)。
多角度多大小匹配可以尝试保存多个模板,采用多模板匹配。
特征点检测(find_keypoint): 如果是刚开始运行程序,例程提取最开始的图像作为目标物体特征,kpts1保存目标物体的特征。默认会匹配目标特征的多种比例大小和角度,而不仅仅是保存目标特征时的大小角度,比模版匹配灵活,也不需要像多模板匹配一样保存多个模板图像。
特征点检测,也可以提前保存目标特征,之前是不推荐这么做的,因为环境光线等原因的干扰,可能导致每次运行程序光线不同特征不同,匹配度会降低。但是最新版本的固件中,增加了对曝光度、白平衡、自动增益值的调节,可以人为的定义曝光值和白平衡值,相对来说会减弱光线的干扰。也可以尝试提前保存目标特征。