例程讲解25-Machine-Learning->mnist数字识别
600倍AI算力提升,480+FPS彩色全局快门,120+FPS YOLO目标检测,200+FPS FOMO目标检测!
星瞳科技2026最新款OpenMV N6高性能AI智能图像识别摄像头正式开售啦!
快来了解详情~:
淘宝 星瞳科技OpenMV品牌店:https://item.taobao.com/item.htm?ft=t&id=1029138529714
天猫 OpenMV旗舰店:https://detail.tmall.com/item.htm?id=1028359546575
京东 星瞳旗舰店: https://item.jd.com/10212563443894.html
支持AI大模型及Agent协同;
标配480FPS百万像素彩色全局快门,可拍摄识别超高速运动物体;
120+FPS YOLO目标检测,高速运行复杂AI算法,支持语音识别;
内置WiFi、蓝牙5.1、以太网、麦克风、IMU;
内置H264和JPEG编码硬件加速,支持MP4录像及网络推流;
配套官方机械臂、无人机、智能车、云台等套件,还有竞赛支持,一键复制代码运行!
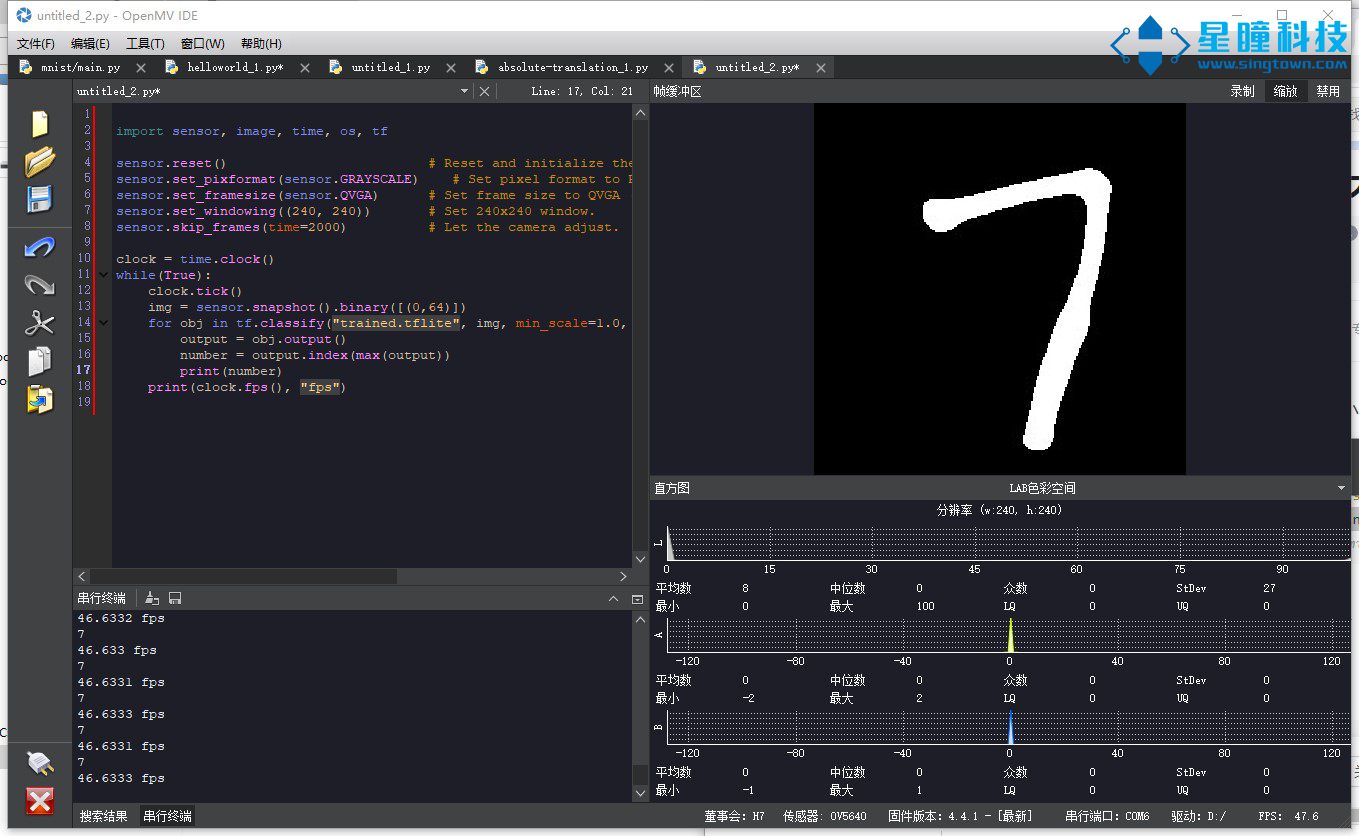
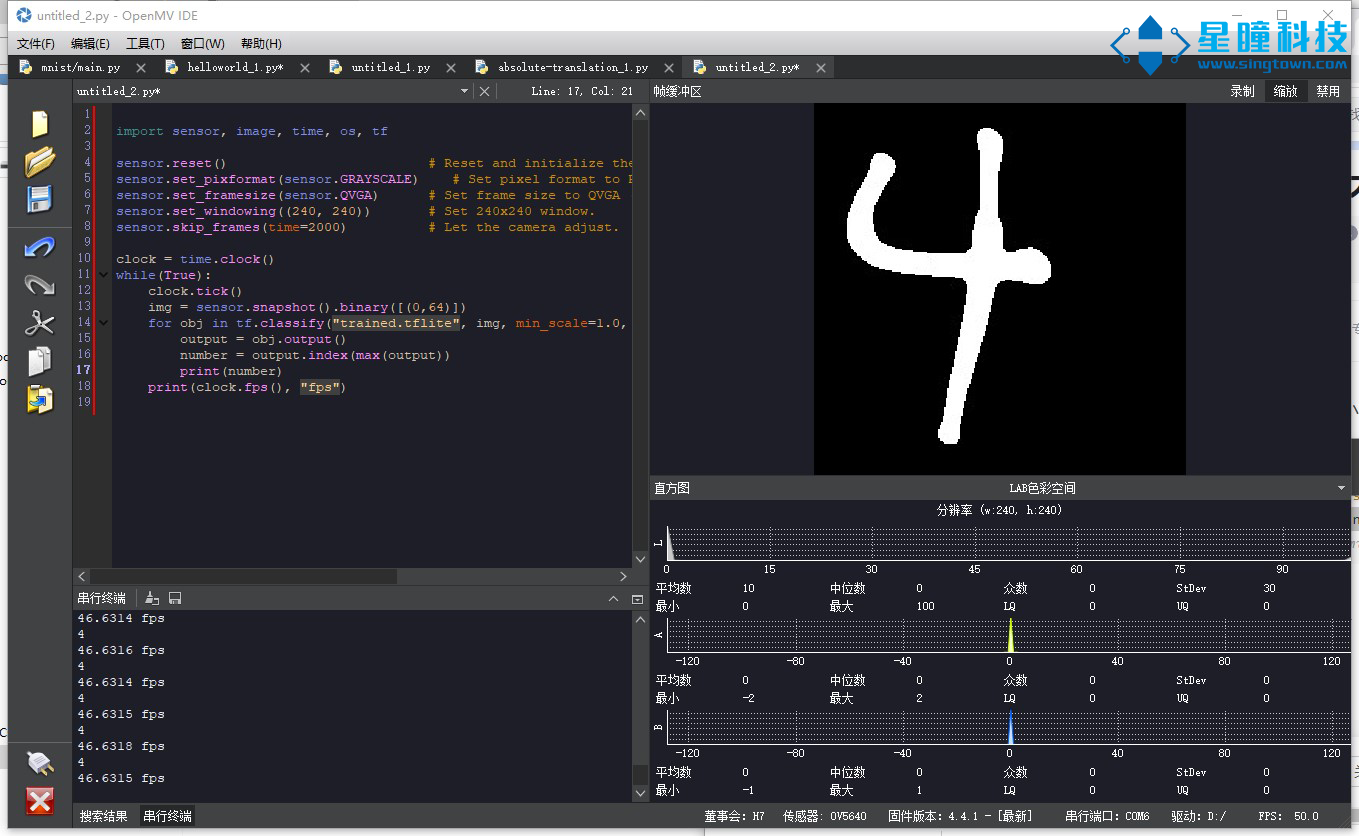
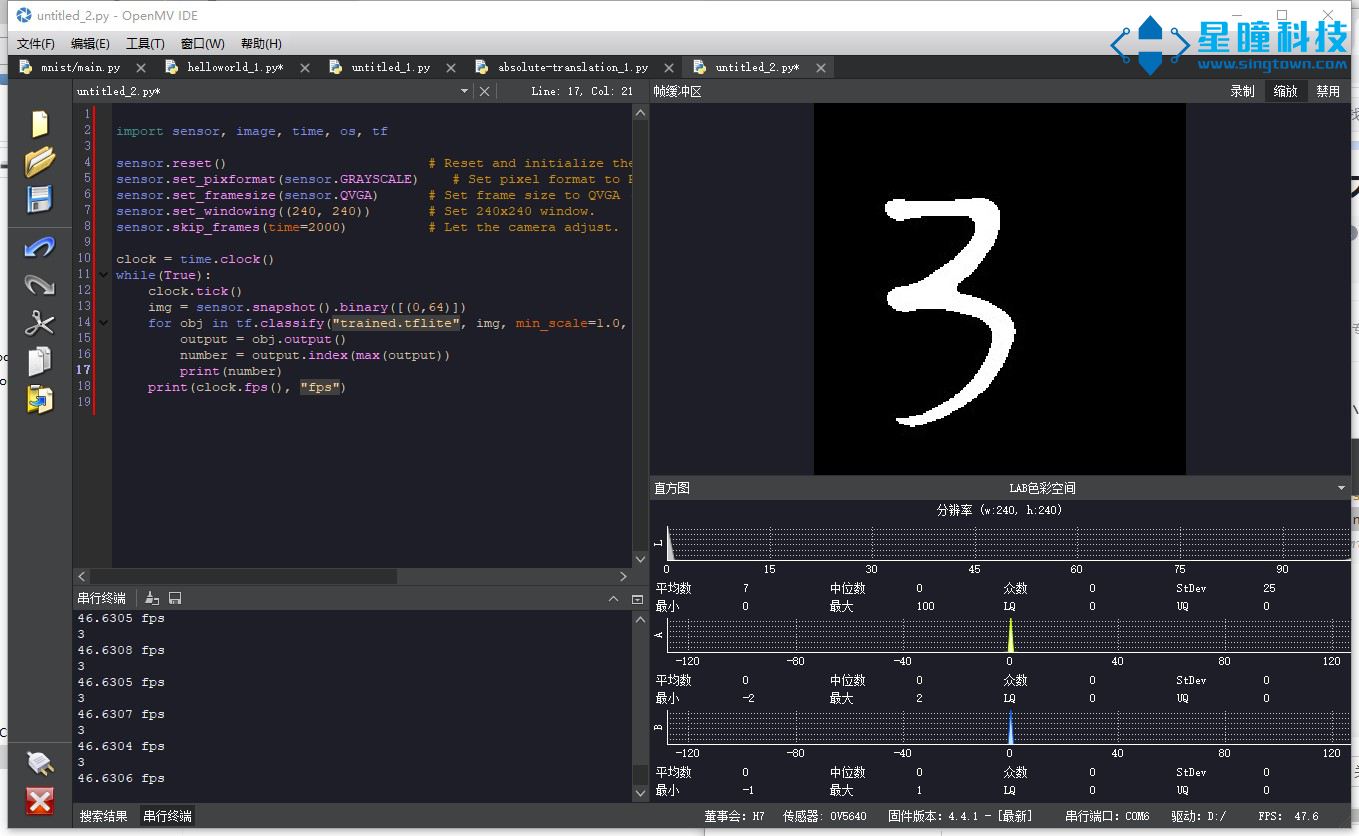
本例程利用mnist数字数据集,自行训练神经网络得到手写数字识别神经网络模型,性能和准确率很高。 在OpenMV4 H7 Plus上面运行大概每秒45帧,在OpenMV4 H7上面运行大概每秒25帧左右。
运行目录前,请将链接中的trained.tflite下载到电脑,并复制到OpenMV的存储中。
中国链接:https://dl.singtown.com/openmv/openmv_tensorflow_training_scripts-main.zip
github链接:https://github.com/SingTown/openmv_tensorflow_training_scripts/tree/main/mnist
# This code run in OpenMV H7, OpenMV H7 Plus and OpenMV RT

import sensor
import time
import ml

sensor.reset()  # Reset and initialize the sensor.
sensor.set_pixformat(sensor.GRAYSCALE)  # Set pixel format to GRAYSCALE (or RGB565)
sensor.set_framesize(sensor.QVGA)  # Set frame size to QVGA (320x240)
sensor.set_windowing((240, 240))  # Set 240x240 window.
sensor.skip_frames(time=2000)  # Let the camera adjust.

model = ml.Model("trained.tflite", load_to_fb=True)
norm = ml.Normalization(scale=(0, 1.0))

clock = time.clock()
while True:
    clock.tick()

    img = sensor.snapshot().binary([(0,60)]).dilate(2)
    input = [norm(img)] # scale 0~255 to 0~1.0
    result = model.predict(input)[0].flatten().tolist()
    number = result.index(max(result))
    print("number", number)
    print(clock.fps(), "fps")
运行结果: