Example explanation 20-Frame-Differencing->on_disk_shadow_removal requires sd card shadow removal frame difference
# 具有阴影去除的帧差分示例
#
# 注意:您需要一张SD卡才能运行此示例。
#
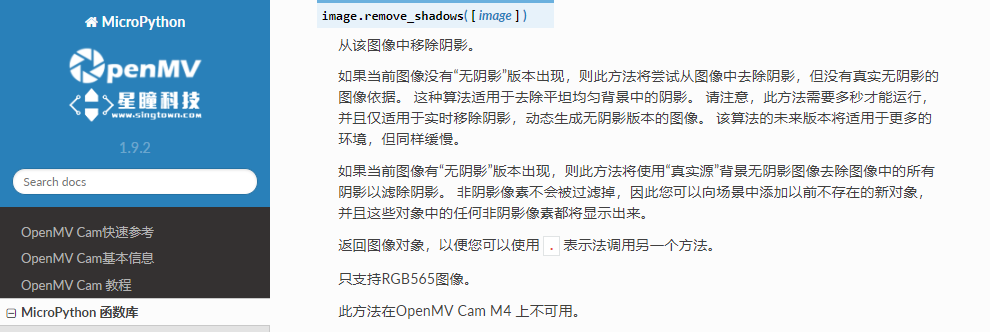
# 此示例演示如何使用除去阴影的OpenMV Cam使用帧差异来帮助减少场景中投射阴影的影响。


import sensor, image, os, time

TRIGGER_THRESHOLD = 5

sensor.reset() # 复位并初始化传感器。

sensor.set_pixformat(sensor.RGB565) # or sensor.GRAYSCALE
#设置图像色彩格式,有RGB565色彩图和GRAYSCALE灰度图两种

sensor.set_framesize(sensor.QQVGA) # or sensor.QVGA (or others)
#设置图像像素大小

if sensor.get_id() == sensor.OV7725: # 将传感器PLL从6倍减少到4倍
    sensor.__write_reg(0x0D, (sensor.__read_reg(0x0D) & 0x3F) | 0x40)
sensor.skip_frames(time = 2000) # 让新的设置生效。
sensor.set_auto_whitebal(False) # 关闭白平衡。
sensor.set_auto_gain(False) # 这个也关掉
clock = time.clock() # 跟踪FPS帧率

if not "temp" in os.listdir(): os.mkdir("temp") # 新建一个新的文件夹

print("About to save background image...")
sensor.skip_frames(time = 2000) # 给用户一个时间来准备
sensor.snapshot().save("temp/bg.bmp")
print("Saved background image - Now frame differencing!")

while(True):
    clock.tick() # 追踪两个snapshots()之间经过的毫秒数.
    img = sensor.snapshot() # 拍一张照片,返回图像

    # 请注意,要移除阴影,背景图像必须无阴影,并且与最新图像具有相同的光照。
    # 与max()不同,阴影去除不会删除所有暗物体,除非它们是阴影...

    # 用 "abs(NEW-OLD)" 帧差替换图像。
    img.remove_shadows("temp/bg.bmp").difference("temp/bg.bmp")

    hist = img.get_histogram()
    # 下面的代码通过比较第99百分位值(例如,非离群值最大值与第90百分位值(例如非最大值)来工作。
    # 两个值之间的差异将随着差异图像看起来像素变化而增大。
    diff = hist.get_percentile(0.99).l_value() - hist.get_percentile(0.90).l_value()
    triggered = diff > TRIGGER_THRESHOLD

    print(clock.fps()) # 注意: 当连接电脑后,OpenMV会变成一半的速度。当不连接电脑,帧率会增加。
Singtown Technology OpenMV official Chinese document function explanation:

Singtown Technology OpenMV official Chinese document function explanation:

Singtown Technology OpenMV official Chinese document function explanation:
