AprilTag tag tracking
Video Tutorial 11 - AprilTag Tracking: https://singtown.com/learn/49590/
Video Tutorial 21 - A car chasing other objects: https://singtown.com/learn/50041/
AprilTag introduction
Resources:https://april.eecs.umich.edu/software/apriltag.html
AprilTag is a visual reference system that can be used for a variety of tasks, including AR, robotics, and camera calibration. This tag can be printed directly with a printer, and the AprilTag detection program can calculate the precise 3D position, orientation, and id relative to the camera. For OpenMV, this is particularly useful! It looks like this:

Simply put, as long as you attach this tag to the target, you can identify the 3D position and id of this tag on OpenMV.
Types of AprilTag
The types of AprilTag are called families, and there are the following types:
TAG16H5 → 0 to 29\ TAG25H7 → 0 to 241\ TAG25H9 → 0 to 34\ TAG36H10 → 0 to 2319\ TAG36H11 → 0 to 586\ ARTOOLKIT → 0 to 511\ That is to say, there are 30 families of TAG16H5, each with a corresponding id, from 0 to 29.
So what are the differences between different families?
For example, the effective area of TAG16H5 is 4 x 4 blocks, so it can see farther than TAG36H11 (because it has 6 x 6 blocks). However, the error rate of TAG16H5 is much higher than that of TAG36H11, because TAG36H11 has more verification information, so if there is no other reason, it is recommended to use TAG36H11.
Making AprilTag
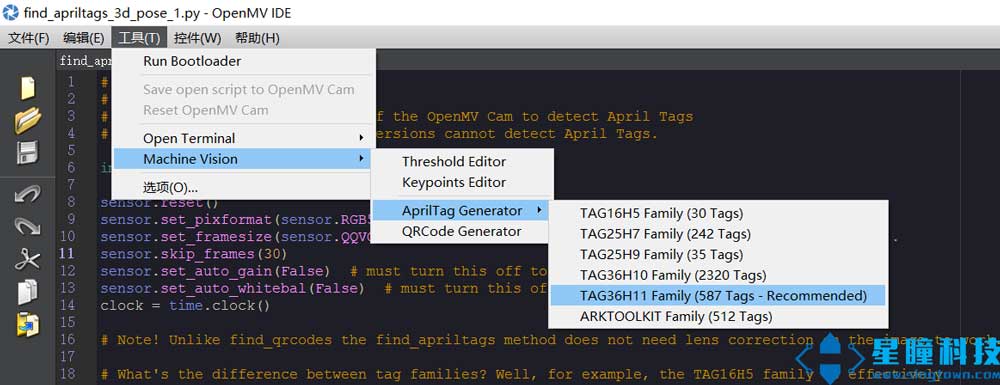
It is very simple. You can download it from the Internet or generate it directly from OpenMV IDE. Select family in Tools - Machine Vision - AprilTag Generate. TAG36H11 is recommended.
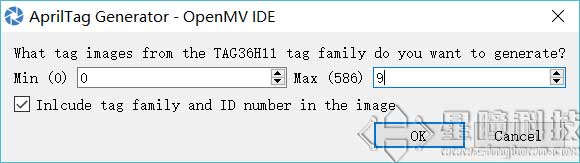
Then, fill in the number you need to generate, for example, if you need 10, generate pictures with id 0~9.
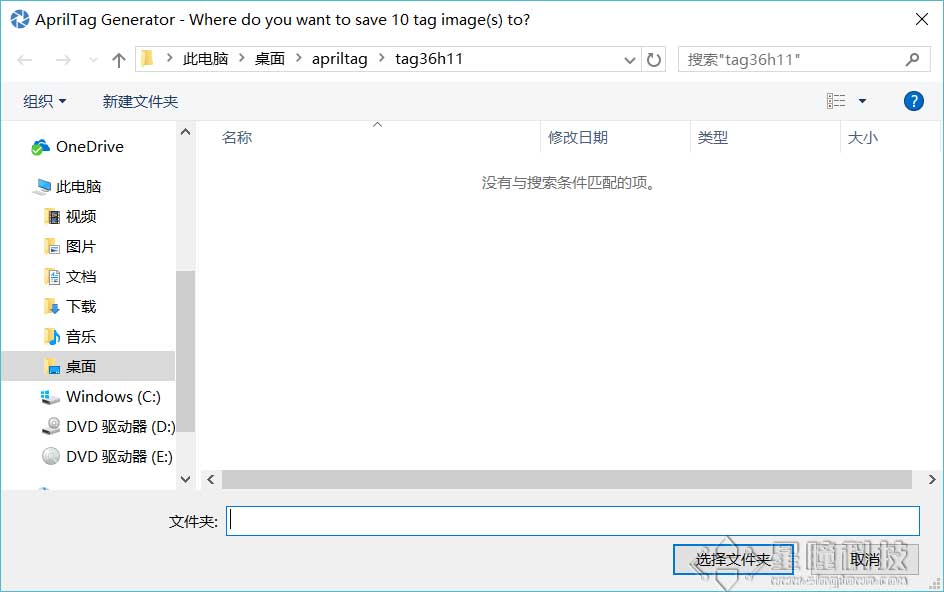
Then select the folder where the image is stored, and that's it.
Then, the image will be generated in the folder.
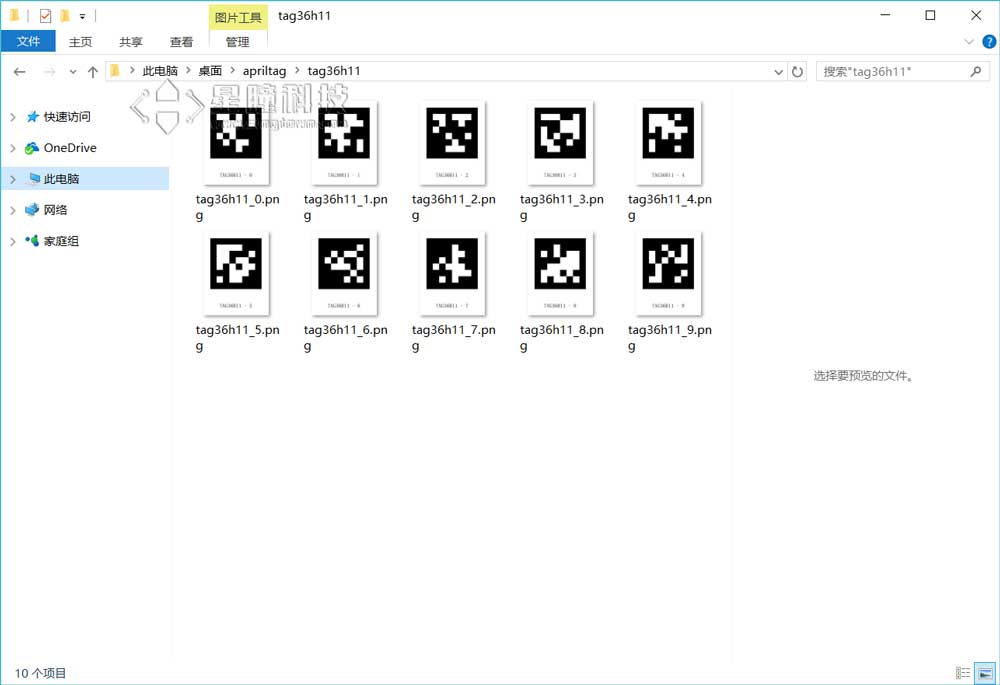
Finally, print the image out with a printer (of course, you can also use the screen directly, but it may reflect light).
Program
# AprilTags Example
#
# This example shows the power of the OpenMV Cam to detect April Tags
# on the OpenMV Cam M7. The M4 versions cannot detect April Tags.
import sensor, image, time, math
sensor.reset()
sensor.set_pixformat(sensor.RGB565)
sensor.set_framesize(sensor.QQVGA) # we run out of memory if the resolution is much bigger...
sensor.skip_frames(30)
sensor.set_auto_gain(False) # must turn this off to prevent image washout...
sensor.set_auto_whitebal(False) # must turn this off to prevent image washout...
clock = time.clock()
while(True):
clock.tick()
img = sensor.snapshot()
for tag in img.find_apriltags(): # defaults to TAG36H11 without "families".
img.draw_rectangle(tag.rect(), color = (255, 0, 0))
img.draw_cross(tag.cx(), tag.cy(), color = (0, 255, 0))
degress = 180 * tag.rotation() / math.pi
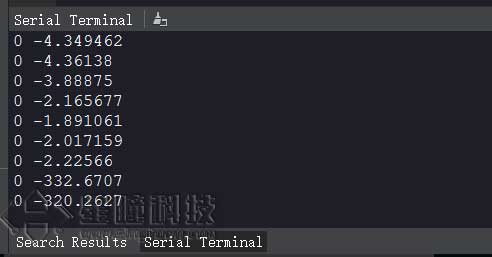
print(tag.id(),degress)

As you can see, you can identify the id 0, the rotation angle, and the position\
3D positioning
The most amazing thing about AprilTag is the 3D positioning function, which can know the spatial position of the Tag, with a total of 6 degrees of freedom, three positions, and three angles.
# AprilTags Example
#
# This example shows the power of the OpenMV Cam to detect April Tags
# on the OpenMV Cam M7. The M4 versions cannot detect April Tags.

import sensor, image, time, math

sensor.reset()
sensor.set_pixformat(sensor.RGB565)
sensor.set_framesize(sensor.QQVGA) # we run out of memory if the resolution is much bigger...
sensor.skip_frames(30)
sensor.set_auto_gain(False)  # must turn this off to prevent image washout...
sensor.set_auto_whitebal(False)  # must turn this off to prevent image washout...
clock = time.clock()

# 注意!与find_qrcodes不同,find_apriltags 不需要软件矫正畸变就可以工作。

# 注意,输出的姿态的单位是弧度,可以转换成角度,但是位置的单位是和你的大小有关,需要等比例换算

# f_x 是x的像素为单位的焦距。对于标准的OpenMV,应该等于2.8/3.984*656,这个值是用毫米为单位的焦距除以x方向的感光元件的长度,乘以x方向的感光元件的像素(OV7725)
# f_y 是y的像素为单位的焦距。对于标准的OpenMV,应该等于2.8/2.952*488,这个值是用毫米为单位的焦距除以y方向的感光元件的长度,乘以y方向的感光元件的像素(OV7725)

# c_x 是图像的x中心位置
# c_y 是图像的y中心位置

f_x = (2.8 / 3.984) * 160 # 默认值
f_y = (2.8 / 2.952) * 120 # 默认值
c_x = 160 * 0.5 # 默认值(image.w * 0.5)
c_y = 120 * 0.5 # 默认值(image.h * 0.5)

def degrees(radians):
    return (180 * radians) / math.pi

while(True):
    clock.tick()
    img = sensor.snapshot()
    for tag in img.find_apriltags(fx=f_x, fy=f_y, cx=c_x, cy=c_y): # 默认为TAG36H11
        img.draw_rectangle(tag.rect(), color = (255, 0, 0))
        img.draw_cross(tag.cx(), tag.cy(), color = (0, 255, 0))
        print_args = (tag.x_translation(), tag.y_translation(), tag.z_translation(), \
            degrees(tag.x_rotation()), degrees(tag.y_rotation()), degrees(tag.z_rotation()))
        # 位置的单位是未知的,旋转的单位是角度
        print("Tx: %f, Ty %f, Tz %f, Rx %f, Ry %f, Rz %f" % print_args)
    print(clock.fps())

The serial port outputs 6 variables, Tx, Ty, Tz are the 3 position quantities in space, and Rx, Ry, Rz are the three rotation quantities.
Further reading:
- FromSingtown Lab APP: How to locate/measure distance in Apriltag recognition? What is the unit of output tx ty tz? How to get the actual distance? https://forum.singtown.com/topic/52