例程讲解-04-kernel_filter核滤波
# 核滤波
#
# 这个例子展示了核滤波。
import sensor, image, time

sensor.reset() # Initialize the camera sensor.
sensor.set_pixformat(sensor.GRAYSCALE) # or sensor.RGB565
sensor.set_framesize(sensor.QVGA) # or sensor.QQVGA (or others)
sensor.skip_frames(time = 2000) # Let new settings take affect.
clock = time.clock() # Tracks FPS.

kernel_size = 1 # 3x3==1, 5x5==2, 7x7==3, etc.

kernel = [-2, -1,  0, \
          -1,  1,  1, \
           0,  1,  2]

while(True):
    clock.tick() # Track elapsed milliseconds between snapshots().
    img = sensor.snapshot() # Take a picture and return the image.

    # Run the kernel on every pixel of the image.
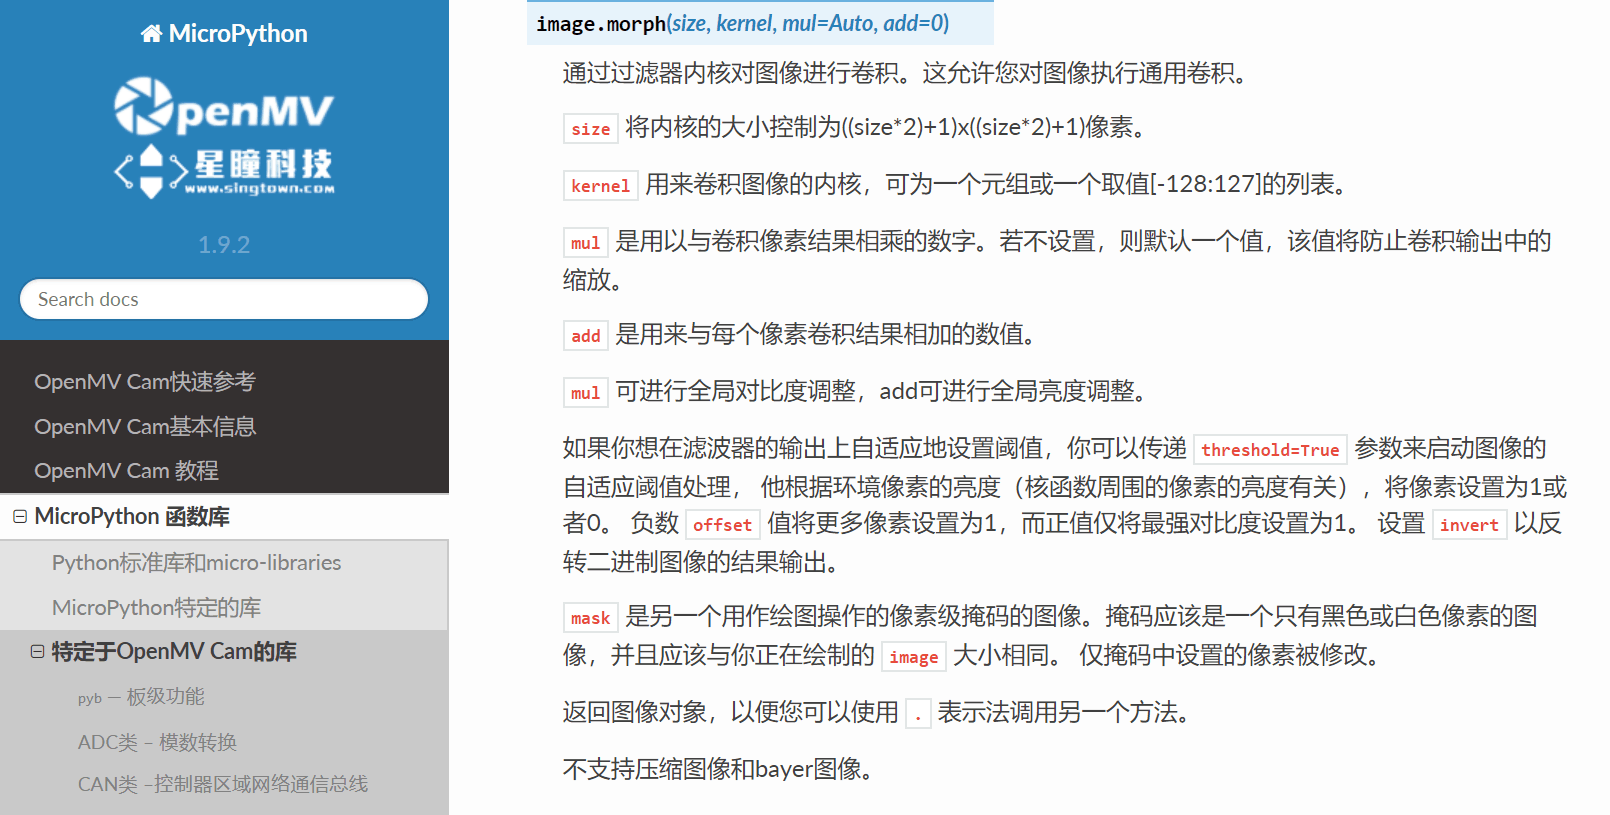
    img.morph(kernel_size, kernel)

    print(clock.fps()) # Note: Your OpenMV Cam runs about half as fast while
    # connected to your computer. The FPS should increase once disconnected.
原图:

运行效果图:

